
WishPost merchants may apply for invoices via their WishPost online account for their logistics-related expenses. In particular, merchants are able to apply for General VAT Invoice (增值税普通发票) or Debit Note (形式发票) by visiting their username > Payment settings > Issue invoice page on WishPost. This FAQ walks merchants through the prerequisites and actual process for applying for invoices on WishPost.
How do I confirm my billing information on WishPost?
Effective November 1, 2019 00:00 Beijing Time, all WishPost merchants must complete the following new requirements on their WishPost account’s Information page before applying for invoices on WishPost:
- Input, confirm, submit, and maintain their correct billing information for their WishPost account in the “Billing Information” section of the user icon > Information page on WishPost.
- Agree electronically to the “Policy for WishPost Invoice Issuance Function” on the same above-mentioned page before submitting the correct billing information.
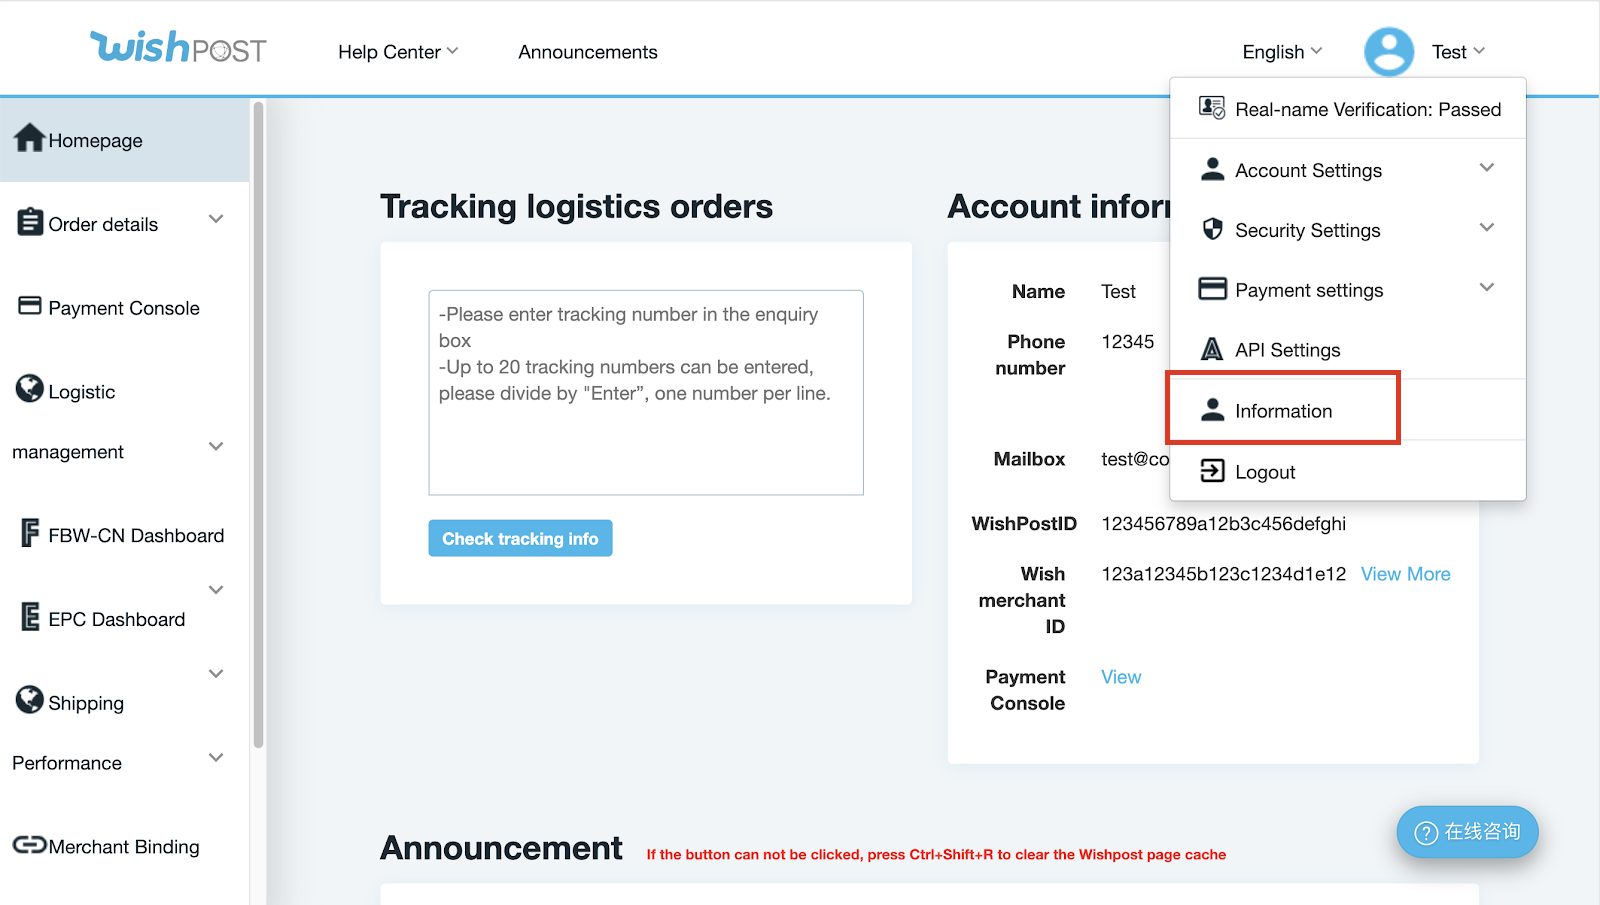
Specifically, to enter your billing information on WishPost, log in to your WishPost account. Select your username dropdown in the top right corner, and select ‘Information’ from the dropdown.
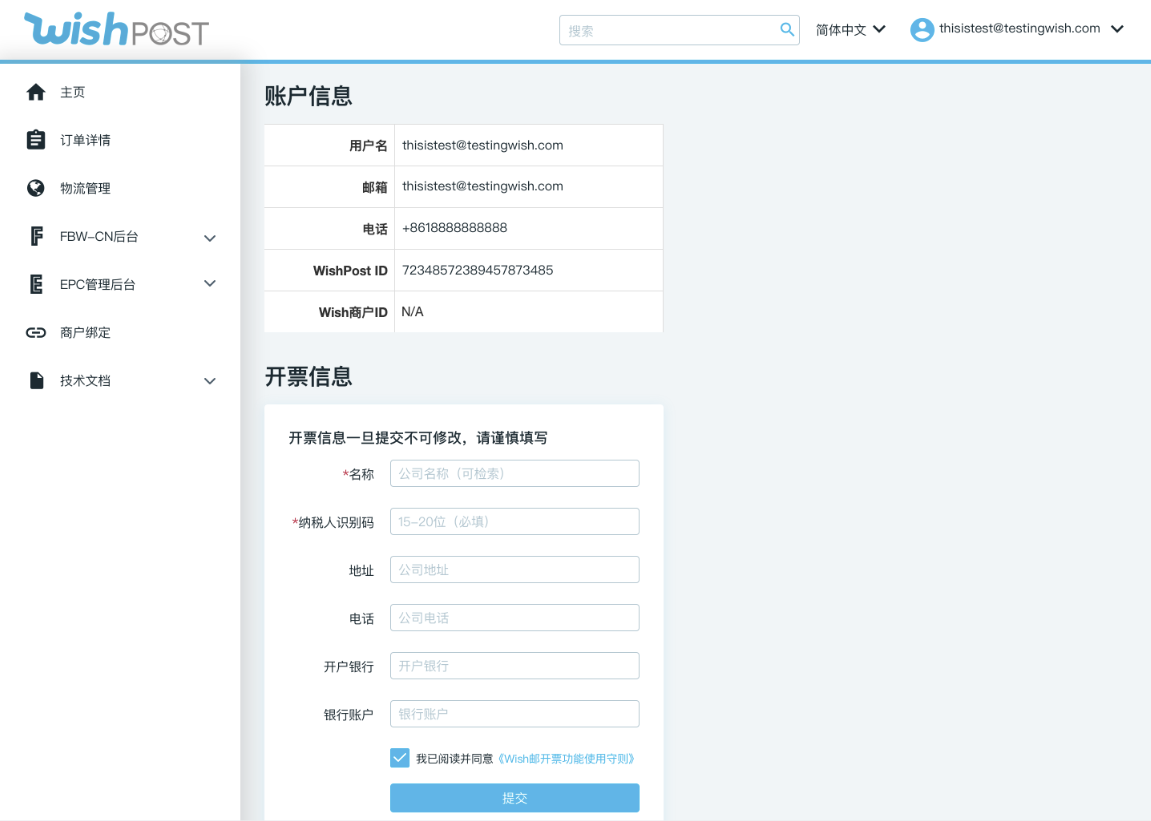
Before you are able to apply for invoices on WishPost, you need to first enter the correct billing information of the merchant company associated with this WishPost account. In the screenshot shown below, you may enter the correct billing information in the “Billing Information” (“开票信息”) section of the page. Once entered, reviewed, and submitted on this page, your billing information can no longer be changed. Therefore, please review the billing information you enter carefully as each WishPost ID may only have one set of billing formation associated.
At the bottom of the “Billing Information” section, you must also click a checkbox to indicate that you agree to the “Policy for WishPost Invoice Issuance Function”, as shown below, before clicking “Submit”. You may click on the “Policy for WishPost Invoice Issuance Function” hyperlink to view the entire document in a popup modal that follows:
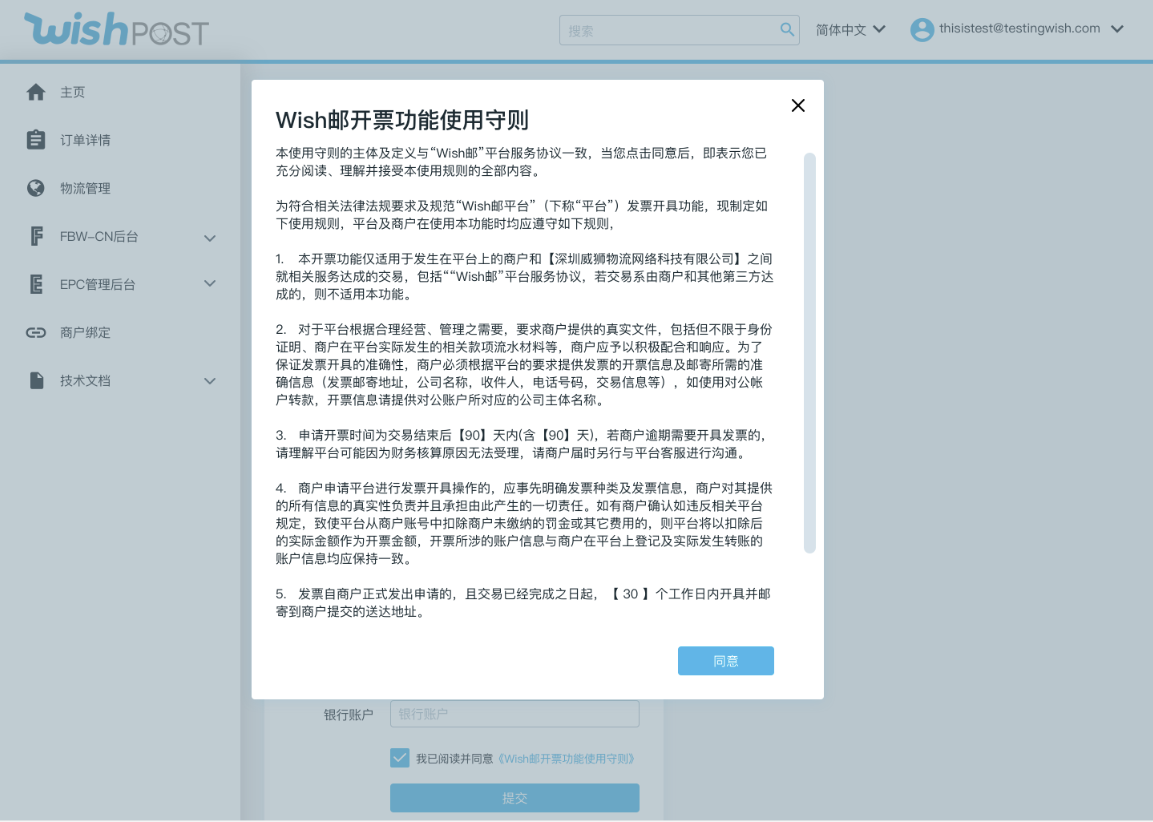
After you carefully read through the above document, click “Agree” to close out the popup modal and return to the Information page.
After completing the above two steps, click “Submit” at the bottom of the page to submit your billing information. Note that once you submit the billing information you entered, it cannot be changed without contacting the WishPost Customer Service team. Your WishPost ‘Information’ page will look like the below once you have successfully confirmed your billing information.

The goal of completing the above steps and follow these requirements is to meet global compliance guidelines and help merchants smoothly apply for invoices on WishPost with accurate billing information.
How do I apply for invoices on WishPost?
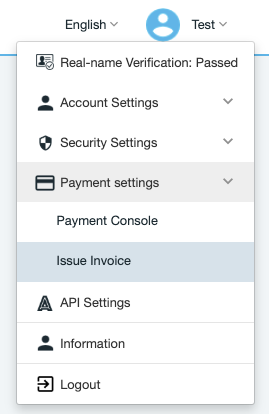
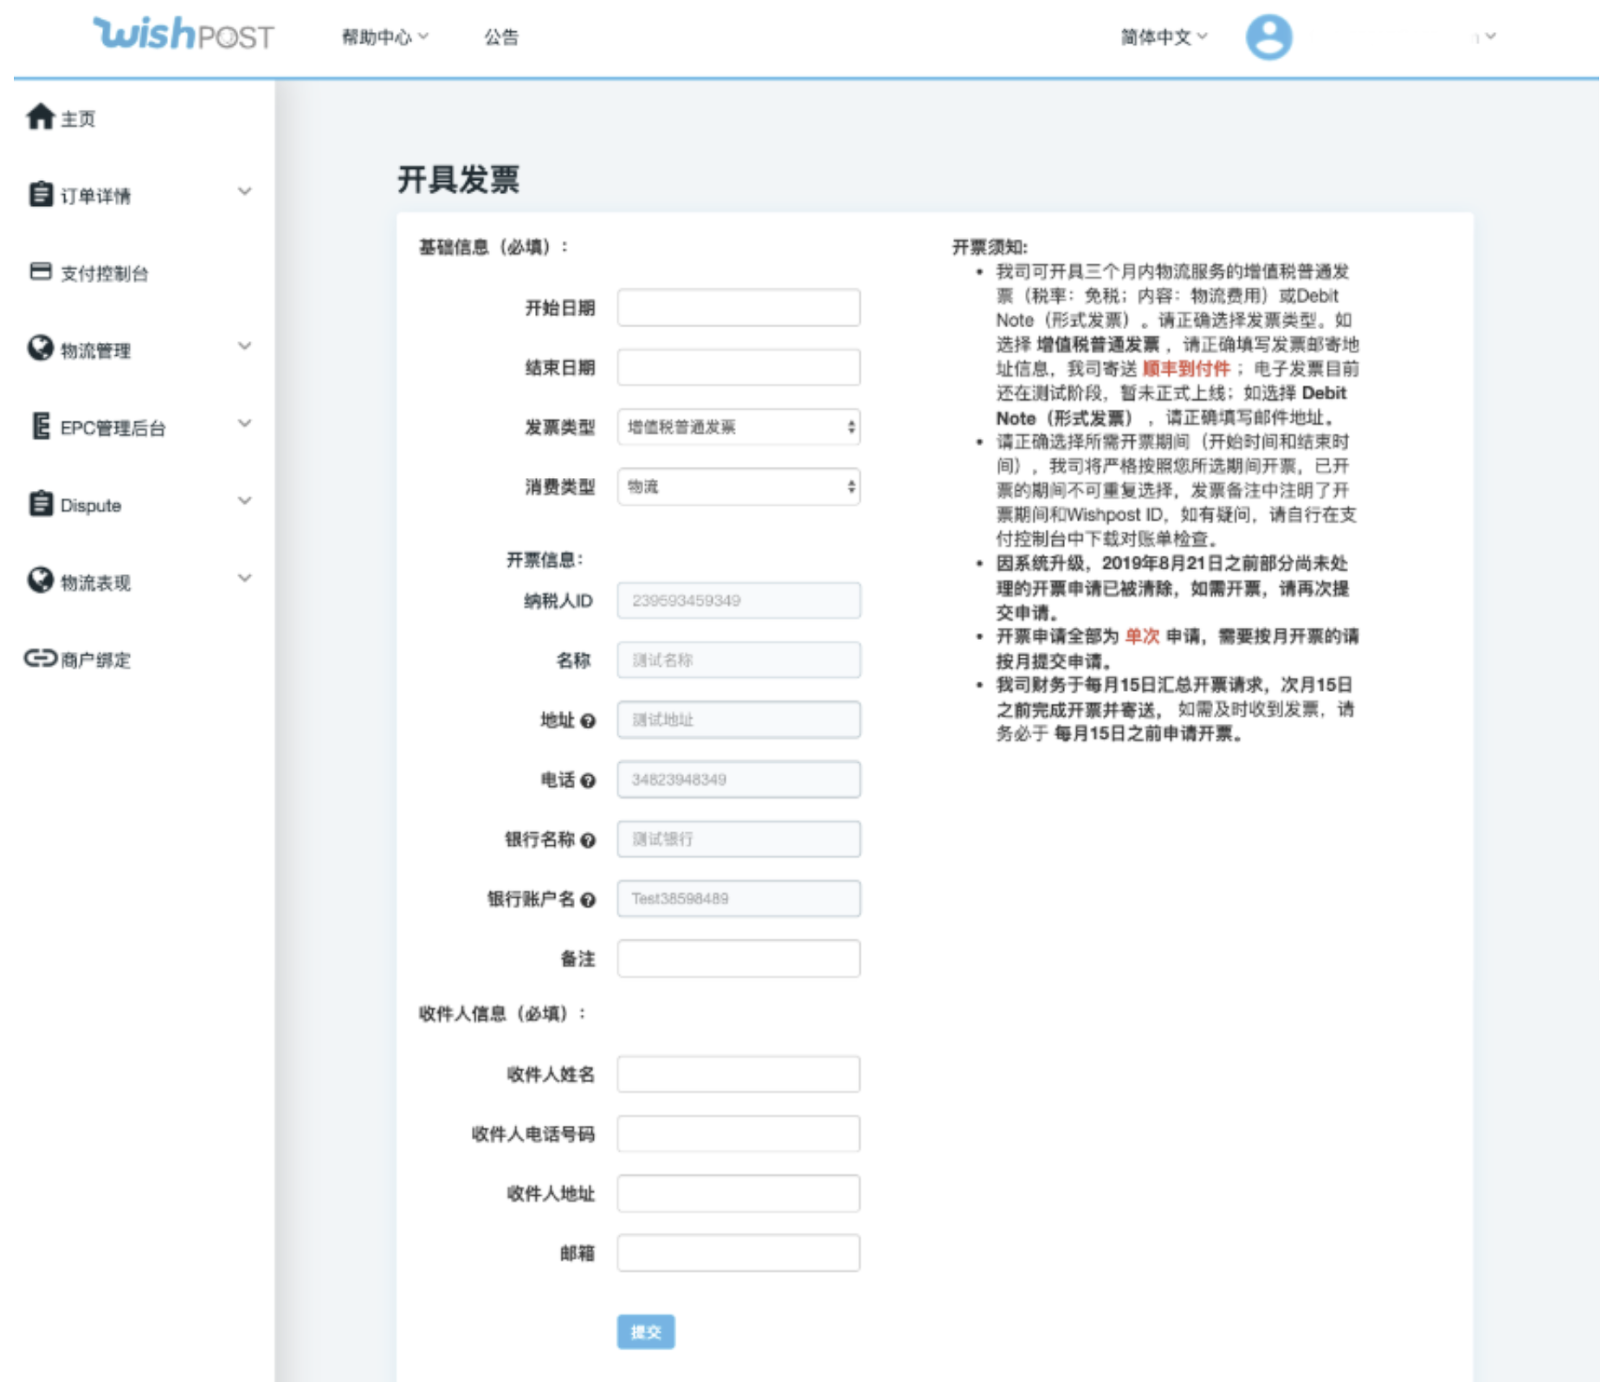
Once you have entered and submitted your correct billing information on your WishPost account as described above, then go to your username dropdown in the top right corner and select Payment setting > Issue invoice:
Here your confirmed billing information submitted in the steps outlined previously will be auto-populated in the necessary fields, which will not allow manual entry or manual edit as seen below. Complete the other fields and select “Submit”.
If you have any further questions about the above steps, please contact WishPost Customer Service via the popup modal in the bottom right corner of your account.

Comments
0 comments
Please sign in to leave a comment.